Create Your Free Developer Blog Using Hugo And Firebase

Email Newsletter
Weekly tips on front-end & UX.
Trusted by 200,000+ folks.

 Flexible CMS. Headless & API 1st
 Register!


In this tutorial, I’ll demonstrate how to create your own blog using Hugo and deploy it on Firebase for free. Hugo is an open-source static site generator and Firebase is a Google platform that offers resources and services used to augment web and mobile development. If you’re a developer who does not have a blog yet but is interested in hosting one, this article will help you create one. To follow these steps, you need to know how to use Git and your terminal.
Having your own technical blog can have tons of benefits to your career as a developer. For one, blogging about technical topics makes you learn things you might not have otherwise picked up at your primary developer job. As you research your pieces or try new things, you end up learning a whole host of things like how to work with new technologies and solve edge case problems. In addition to that, you get to practice soft skills like communication and dealing with criticism and feedback when you engage with your reader’s comments.
Additionally, you become more self-assured in your software development skills because you get to write so much code when building sample projects for your blog to illustrate concepts. A technical blog augments your brand as a developer since it gives you a platform to showcase your skills and expertise. This opens you up to all kinds of opportunities like jobs, speaking and conference engagements, book deals, side businesses, relationships with other developers, and so on.
Recommended Reading on SmashingMag:
- Switching From WordPress To Hugo
- How To Create A Headless WordPress Site On The JAMstack
- Replacing jQuery With Vue.js: No Build Step Necessary
- Creating Authentic Human Connections Within A Remote Team
Chris Sevilleja, for example, started writing tutorials in 2014 on his blog scotch.io that turned into a business that later joined Digital Ocean. Another significant benefit of having a technical blog is that it makes you a better writer which can be an asset in your job when writing software design and technical spec documents. Moreover, it makes you an exceptional teacher and mentor. For example, I often read research.swtch.com, a blog by Russ Cox who blogs about the Go language and also works on the Google Go team that builds it. From it, I’ve learned a ton about how the language works that I might not have picked up from my main job.
Another great blog I also enjoy reading and learning a lot from is welearncode.com by Ali Spittel who once wrote that a really great part of blogging is:
“Helping other people learn how to code and making it easier for the people coming after me.”
A fairly easy and painless way to get your blog up and running is to use a third-party platform like Medium where you only have to create an account to get a blog. Although these platforms may suit most blogging needs at the start, they do have some drawbacks in the long run.
Some platforms offer bad user experiences like constantly sending distracting notifications for trivial things, asking for app installs, and so on. If your reader has a bad experience on a platform where your blog is hosted they are less likely to engage with your content. Besides that, tools you may need to enhance your reader’s interaction with and time on your blog may not be supported. Things like RSS feeds, syntax highlighting for code snippets among other things may not be supported on the platform. In a worst-case scenario, the platform where your blog is hosted may close and you may lose all the work you’ve done.
Hosting your own blog and redirecting your users to it increases the chances that they will be more engaged with the posts you put out. You won’t have to compete for your reader’s attention with other writers on a platform since you’ll be the only one on it. Readers are likely to read more of your posts or sign up for your newsletter since they’re more focused on what you’re communicating. Another plus that comes with hosting your own blog is the ability to customize it in a myriad of ways to your own tastes, which is usually not possible with third-party platforms.
Setting Up Hugo
If you’re working on macOS or Linux, the easiest way to install Hugo is to use Homebrew. All you’ll need to run on your terminal is:
brew install hugo
If you’re running on windows, Hugo can be installed using either the scoop installer or the chocolatey package manager. For scoop:
scoop install hugo
For chocolatey:
choco install hugo -confirm
If none of these options apply to you, check out these options for installation.
Setting Up Firebase Tools
To install firebase tools, you need to have Node.js installed to get access to npm. To install Firebase tools, run:
npm install -g firebase-tools
Create a Firebase account for free at this link. You’ll need a Google account for this. Next, login using the Firebase tools. You’ll be redirected to a browser tab where you can log in using your Google account.
firebase login
Create Your Blog
Pick a directory where you’d like your blog’s source code to reside. Change location to that directory on your terminal. Pick a name for your blog. For the purposes of this tutorial, let’s name the blog sm-blog.
hugo new site sm-blog
It’s advisable to back up your site’s source code in case anything goes wrong. I’m going to use Github for this but you could use any version control service — if you choose to do the same. I’ll initialize a repository.
cd sm-blog
git init
Before we can run the site locally and actually view it on the browser, we need to add a theme otherwise all you’ll see is a blank page.
Picking And Installing A Theme For Your Blog
One thing I love about Hugo is the community behind it and all the developers who submit themes for the community to use. There is a vast array of themes to choose from, everything from small business websites, portfolios to blogs. To pick a blog theme, head on over to the blog section of themes.gohugo.io. I picked a theme called Cactus Plus because of its simplicity and minimalism. To install this theme, I’ll need to add it as a submodule of my repository. Many themes instruct its users to use submodules for installs but if this is not the case, just follow the instructions given by the theme maker provided in the description. I’ll add the theme to the /themes folder.
git submodule add -b master https://github.com/nodejh/hugo-theme-cactus-plus.git themes/hugo-theme-cactus-plus
At the root of the blog folder, there exists a generated file, config.toml. This is where you specify settings for your site. We’ll need to change the theme there. The theme name corresponds to the chosen theme’s folder name in the /themes folder. These are the contents of the config.toml file now. You could also change the title of the blog.
baseURL = "https://example.org/"
languageCode = "en-us"
title = "SM Blog"
theme="hugo-theme-cactus-plus"
Now we can run the blog. It will look exactly like the theme with the exception of the name change. Once you run the server, head on over to https://localhost:1313 on your browser.
hugo server -D
Personalizing Your Blog
One benefit of deploying your own blog is getting to personalize it to your liking in all kinds of ways. The primary way to do this with Hugo is to change the theme you selected. Many themes provide customization options through the config.toml. The theme creator usually provides a list of options and what they all mean in the description on the theme page. If they don’t, check out the /exampleSite folder of the theme and copy the contents of config.toml within that folder to your config.toml file. For example:
cp themes/hugo-theme-cactus-plus/exampleSite/config.toml .
Since all themes are different, changes I make here may not apply to your theme but hopefully, you may be able to get an idea of what to do with your blog.
- I’ll change the avatar image and the favicon of the blog. All static files including images should be added to the
/staticfolder. I created an/imagesfolder withinstaticand added the images there. - I’ll add Google Analytics so I can track the traffic to my blog.
- I’ll enable Disqus so my readers can leave comments on my posts.
- I’ll enable RSS.
- I’ll put in my social links to Twitter and Github.
- I’ll enable the Twitter card.
- I’ll enable summaries under the post titles on the home page.
So my config.toml will look this:
### Site settings
baseurl = "your_firebase_address"
languageCode = "en"
title = "SM Blog"
theme = "hugo-theme-cactus-plus"
googleAnalytics = "your_google_analytics_id"

[params]
    # My information
    author = "Cat Lense"
    description = "blog about cats"
    bio = "cat photographer"
    twitter = "cats"
    copyright = "Cat Photographer"

    # Tools
    enableRSS = true
    enableDisqus = true
    disqusShortname = "your_disqus_short_name"
    enableSummary = true
    enableGoogleAnalytics = true
    enableTwitterCard = true

[social]
    twitter = "https://twitter.com/cats"
    github = "https://github.com/cats"
Creating Your First Post
Hugo posts are written in markdown. So you’ll need to be familiar with it. When creating a post, you’re actually creating a markdown file that Hugo will then render into HTML. Take the title of your post, make it lower case, substitute the spaces with hyphens. That will be the name of your post. Hugo takes the file name, replaces the hyphens with spaces, transforms it to start case, then sets it as the title. I’ll name my file my-first-post.md. To create your first post, run:
hugo new posts/my-first-post.md
The post is created in the /content folder. These are the contents of the file.
---
title: "My First Post"
date: 2020-03-18T15:59:53+03:00
draft: true
---
A post contains front matter which is the metadata that describes your post. If you’d like to keep your posts as drafts while you write them, leave draft: true. Once you’re done writing, change draft: false so that the posts can be displayed on the home page. I’ll add a summary line to the front matter to summarize the post on the home page.
Adding Resources To Your Post
To add resources to your posts like images, videos, audio files, etc. create a folder within the /content/posts folder with the same name as your post excluding the extension.
For example, I’d create this folder:
mkdir content/posts/my-first-post
Then I’d add all my post resources to that folder and link to the resources just by file name without having to specify a long URL. For example, I’d add an image like this:

Hosting Your Blog’s Source Code
Once you’re done writing your first post, it’s important to back it up before you deploy it. Before that, make sure you have a .gitignore file and add the /public folder to it. The public folder should be ignored because it can be generated again.
Create a repository on Github to host your blog’s source code. Then set the remote repository locally.
git remote add origin [remote repository URL]
Finally, stage and commit all your changes then push them to the remote repository.
git add *
git commit -m "Add my first post"
git push origin master
Deploying Your Blog To Firebase
Before you can deploy your blog to Firebase, you’ll need to create a project on Firebase. Head on over to the Firebase Console. Click on Add Project.
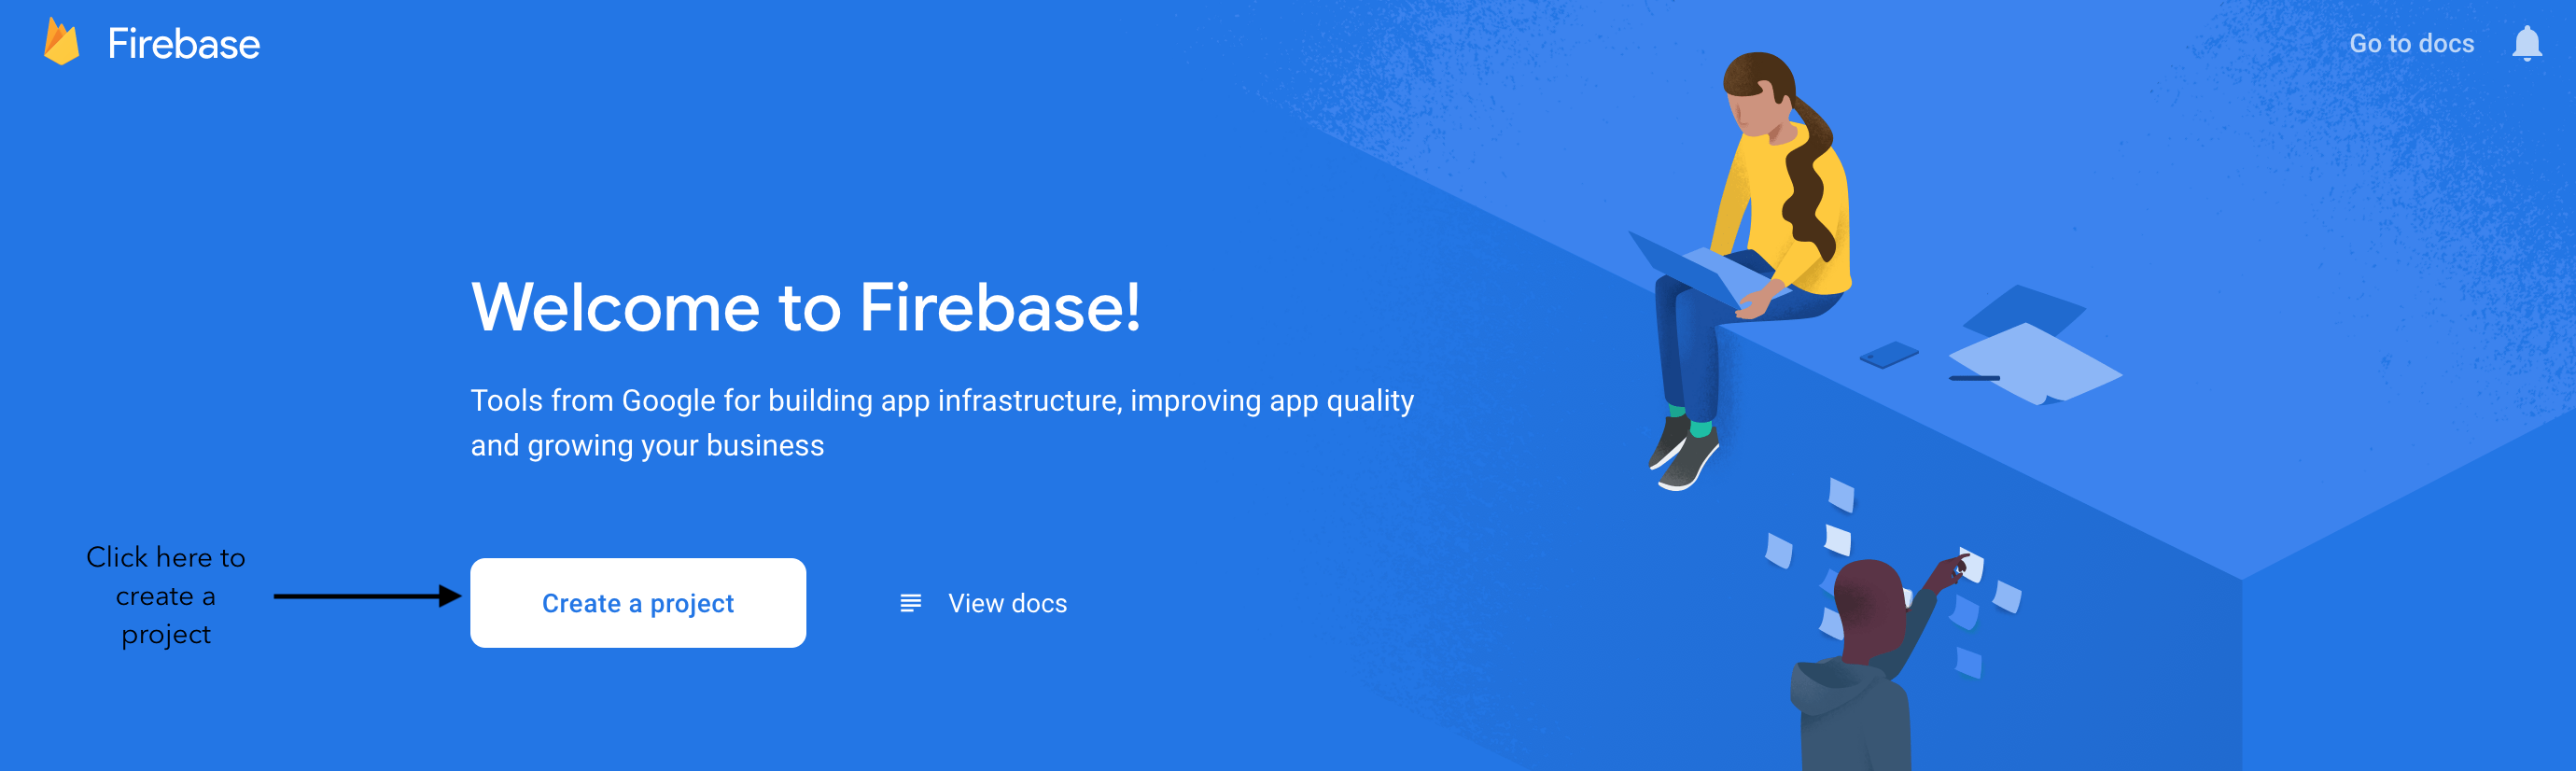
Input the name of your project.

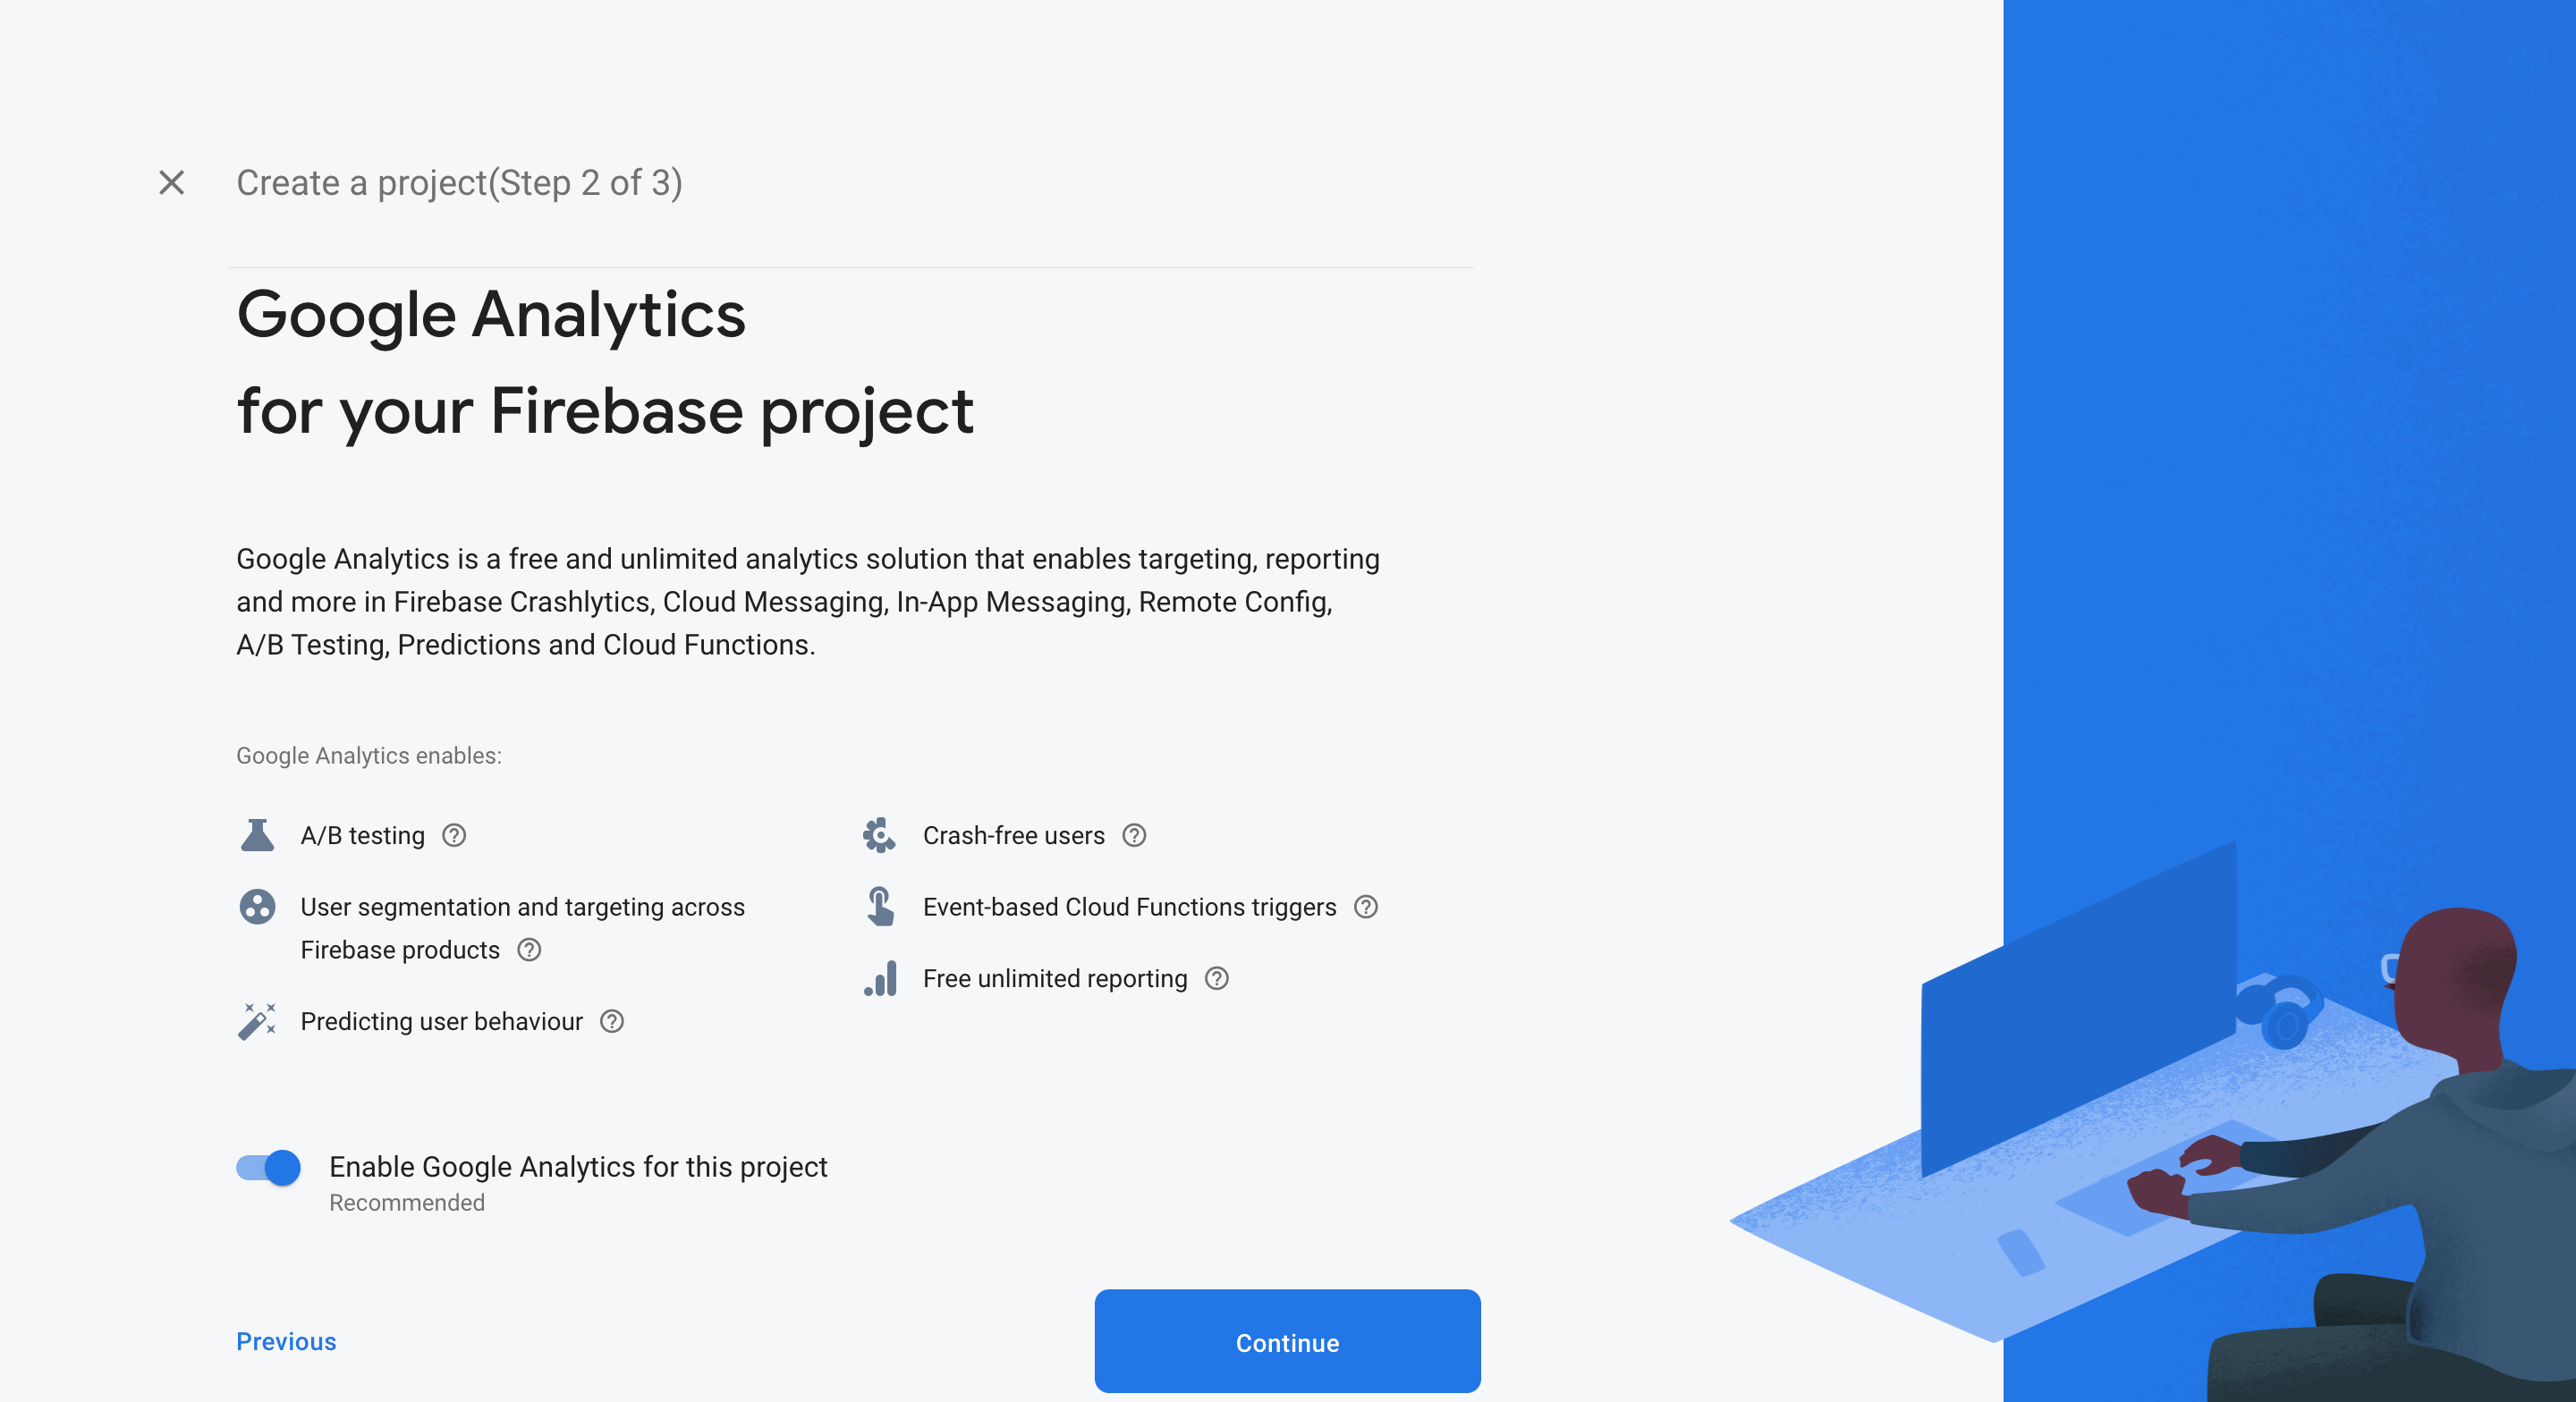
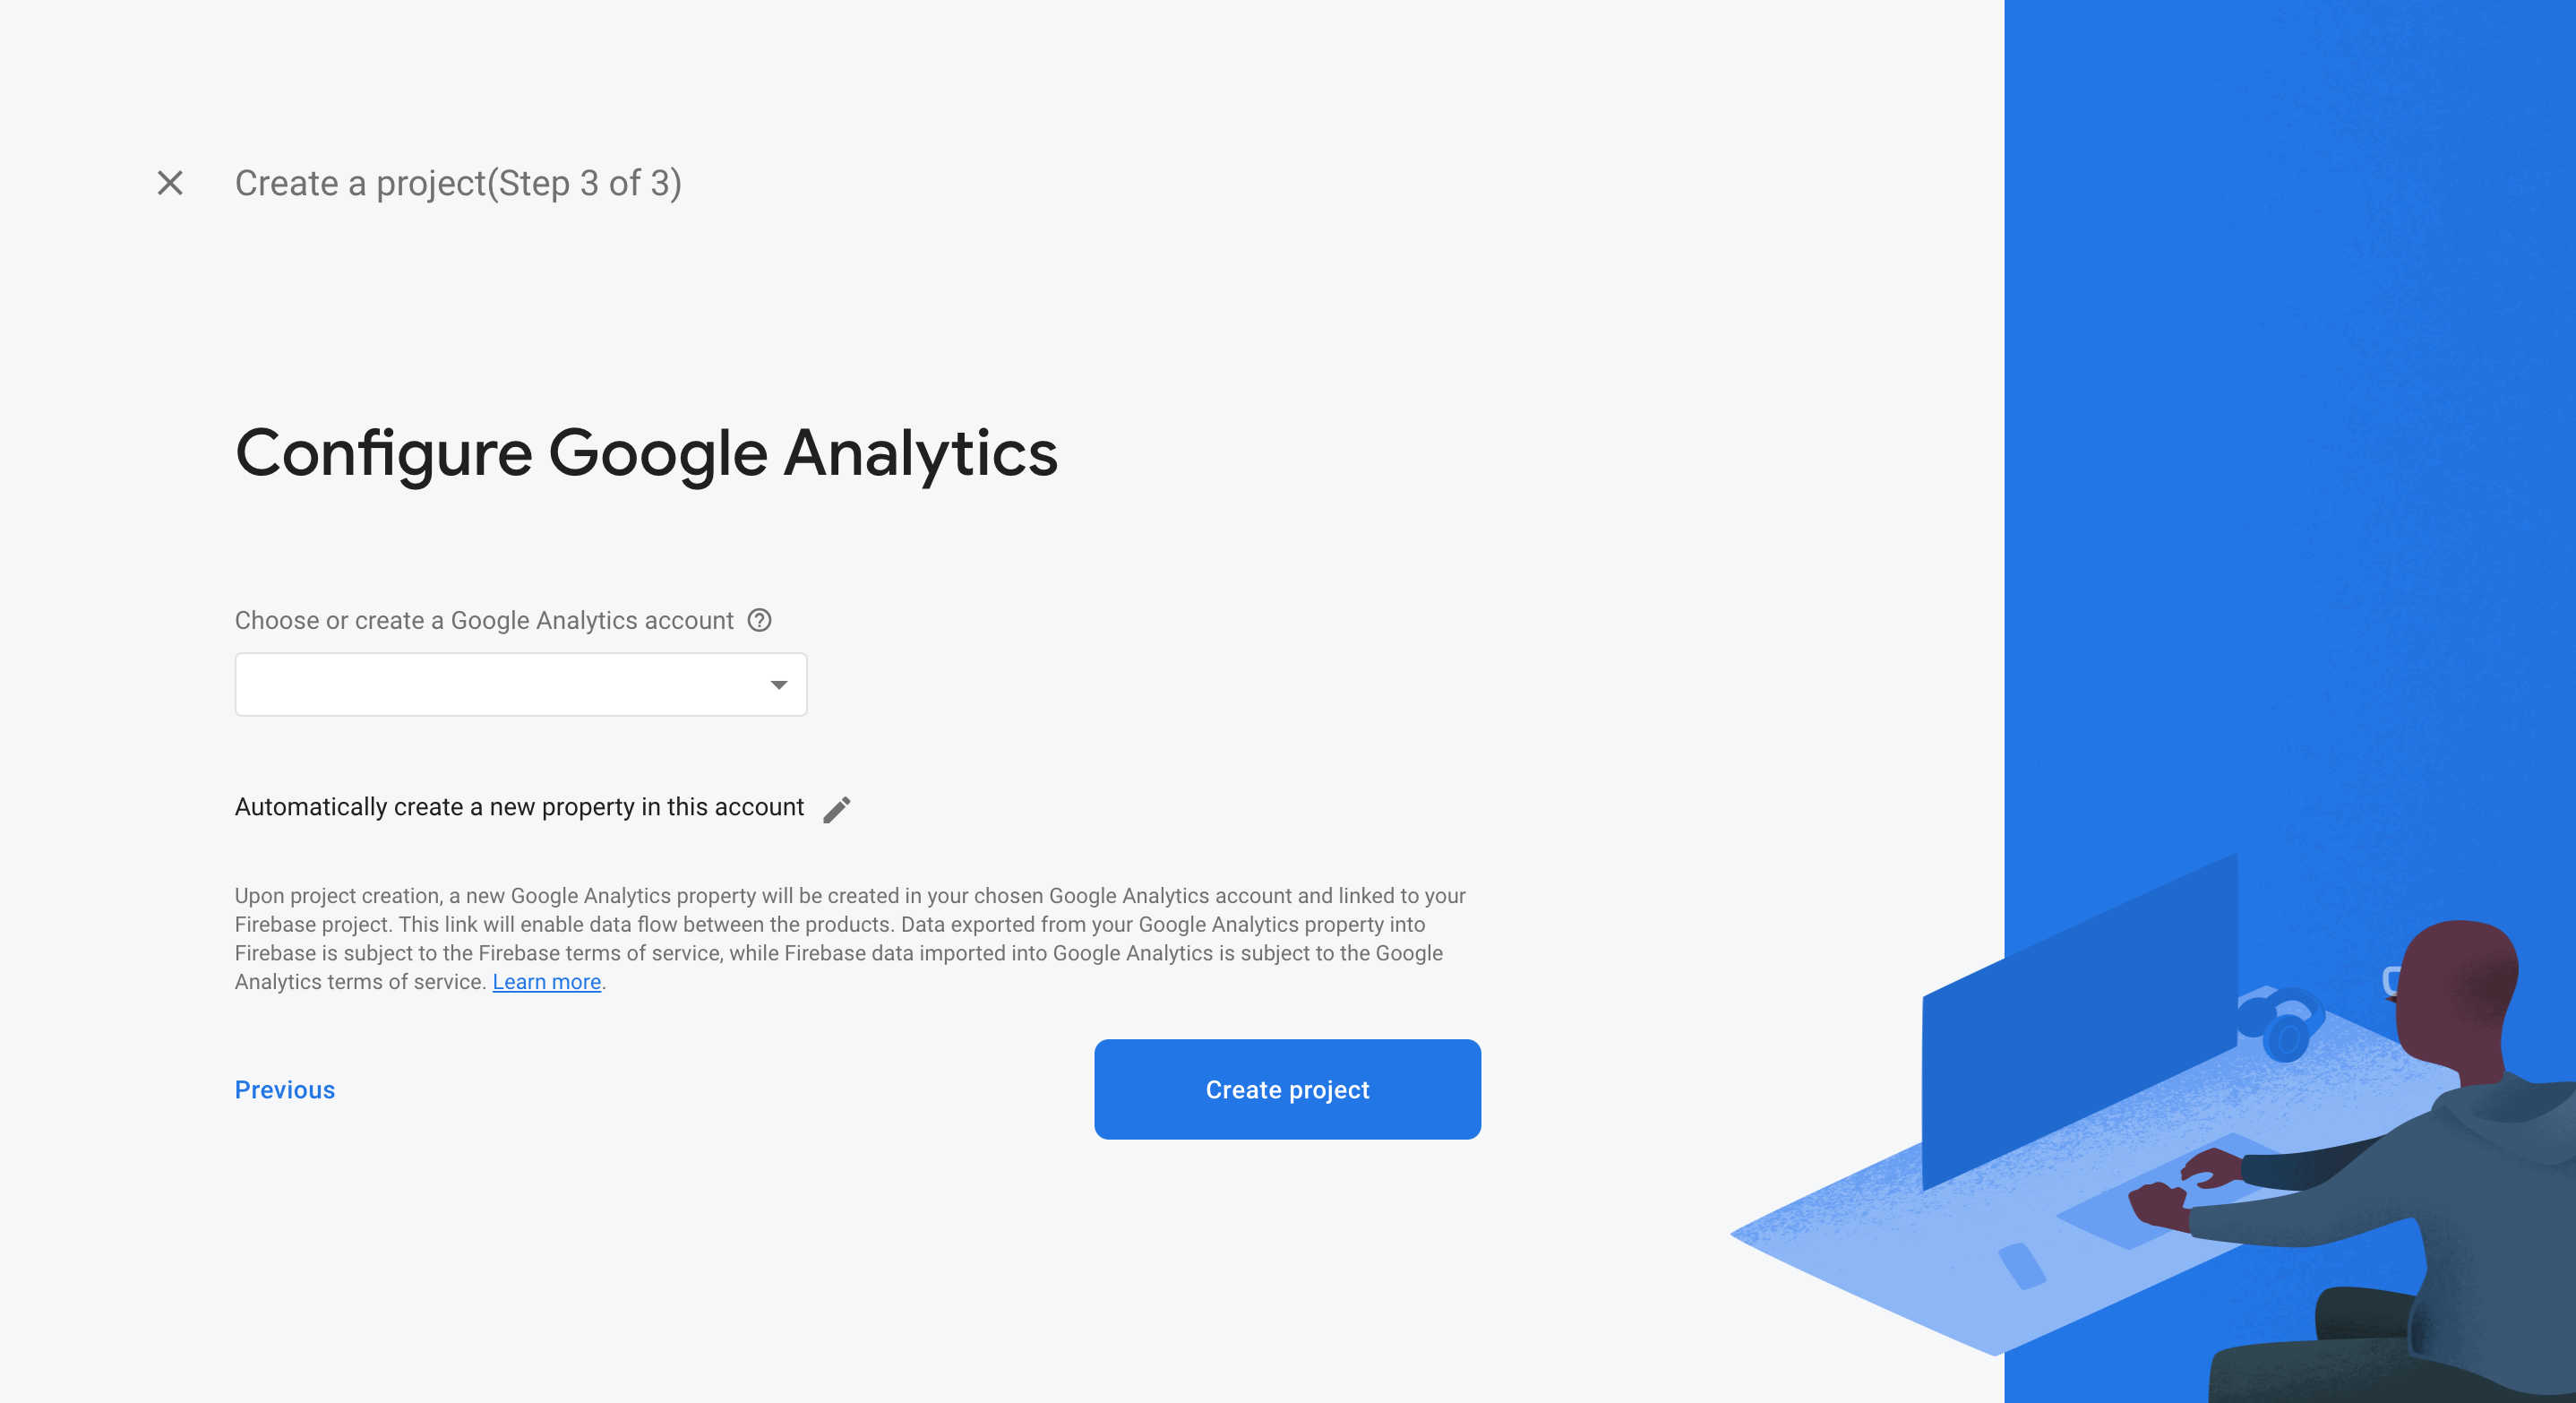
Enable Google Analytics if you want to use it in your blog.
Once you’re done creating the project, go back to your blog’s root and initialize a Firebase project in the blog.
firebase init
You’ll be prompted to enter some information when this command runs.
| Prompts | Answer |
|---|---|
| Which Firebase CLI features do you want to set up for this folder? | Hosting: Configure and deploy Firebase Hosting sites |
| Project Setup Options | Use an existing project |
| What do you want to use as your public directory? | public |
| Configure as a single-page app (rewrite all urls to /index.html)? | N |
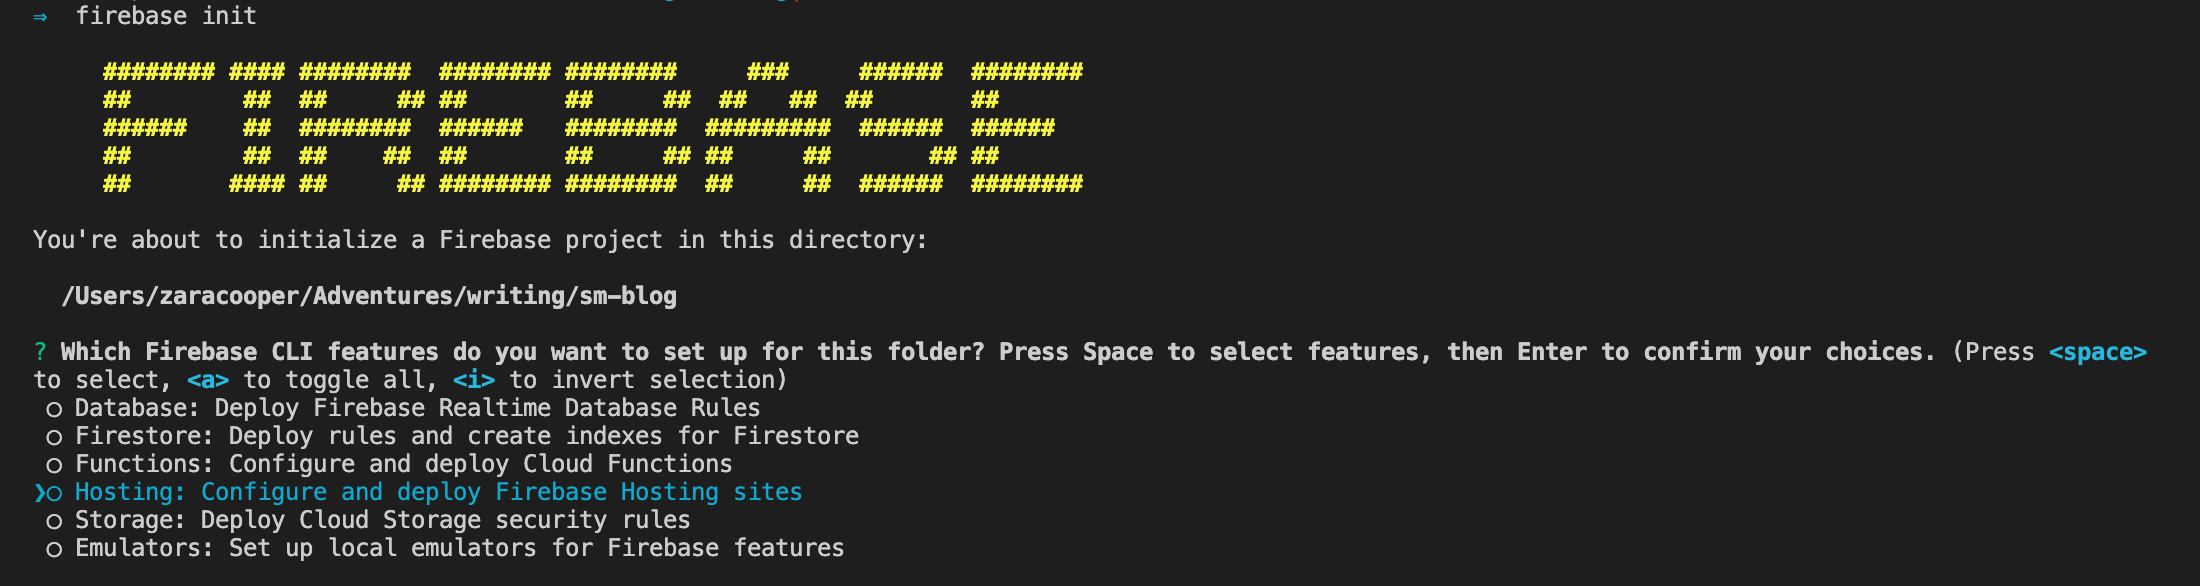
firebase init command requesting a feature selection. (Large preview)
firebase init command requesting a project selection. (Large preview)
firebase init command requesting a deployment folder and inquiring whether to configure the project as a single-page app. (Large preview)Next, we’ll build the blog. A /public folder will be created and it will contain your generated blog.
hugo
After this, all we have to do is deploy the blog.
firebase deploy
Now the blog is deployed. Check it out at the hosting URL provided in the output.
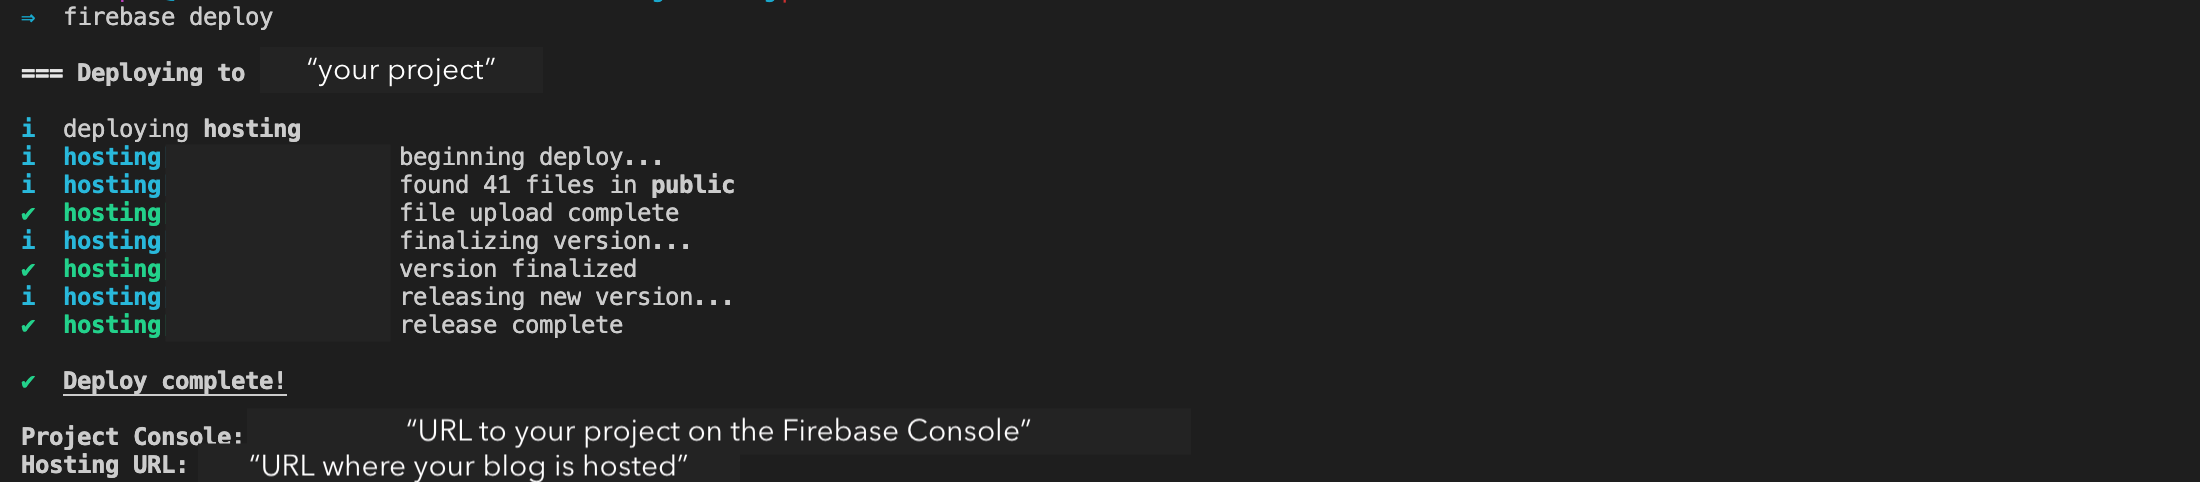
firebase deploy command. (Large preview)Next Steps
The only drawback of hosting on Firebase is the URL it uses for your hosted project. It can be unsightly and difficult to remember. So I’d advise that you buy a domain and set it up for your blog.
Third-party platforms are not all bad. They have tons of readers who may be interested in your writing but haven’t come across your blog yet. You could cross-post to those sites to put your work in front of a large audience but don’t forget to link back to your own blog. Add the link to your article on your blog to whichever platform you are posting to as a canonical URL so that it is not viewed as duplicate content by a search engine and hurts the SEO of your site. Sites like Medium, dev.to, and Hashnode support canonical URLs.
Conclusion
Writing on your own technical blog can have immense benefits to your career as a software developer and help you cultivate your skills and expertise. It’s my hope that this tutorial has started you on that journey or at least encouraged you to make your own blog.


